
How to Assemble a Treadmill?
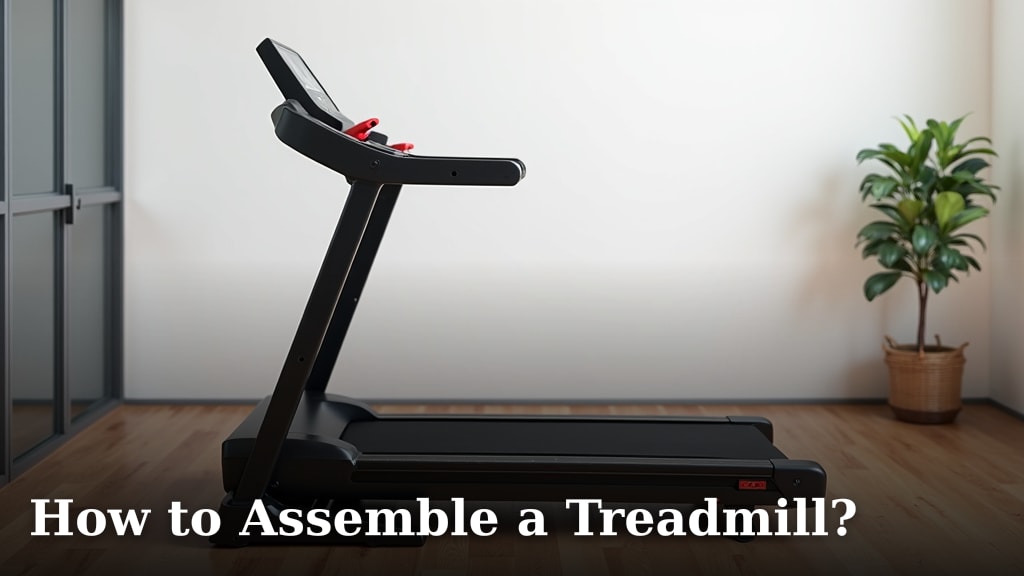
Assembling a treadmill doesn’t have to be a headache; you can usually put it together yourself in 1-2 hours with basic tools. The key is to follow the manufacturer’s instructions carefully, as each model can vary slightly.
We found that many people feel intimidated by the box of parts, but with some patience, you’ll be running in no time. Most treadmills come with everything you need for assembly right in the package, including any special wrenches or Allen keys. You’ll mainly be attaching the uprights, console, and safety features.
TL;DR:
- Gather your tools and space.
- Unpack parts and check the inventory.
- Attach the uprights to the base.
- Mount the console and secure wiring.
- Install safety keys and test.
Ready to get started? Let’s walk through the process of assembling your new treadmill step by step, so you can hit your fitness goals without delay.
Putting Your New Treadmill Together
Assembling your treadmill is often easier than it looks. Most manufacturers design them for home assembly. You’ll mainly connect a few large pieces. Think of it like connecting giant Lego bricks!
Preparation: Setting the Stage for Success
Before you even open the box, a little prep goes a long way. This step ensures you have everything you need. It also makes the whole process much smoother.
Gather Your Tools and Space
First, think about where your treadmill will live. You’ll want plenty of space for assembly. Leave room to move around the machine easily. This helps prevent backaches and frustration. We recommend at least 3-4 feet of clear space around the treadmill’s footprint during assembly.
What about tools? Most treadmills come with an Allen wrench or a simple multi-tool. However, we found that having a few extra items can be super helpful. A Phillips head screwdriver and an adjustable wrench are often good to have. A utility knife or box cutter makes quick work of packaging. Consider a small step stool if you’re on the shorter side; some console connections can be high up. And always keep your phone handy for questions!
You’ll also want some soft material to protect your floor and the treadmill parts. A moving blanket, an old rug, or even the cardboard from the box works great.
Unpacking and Inventory Check
This is where the adventure truly begins! Opening that big box can feel like Christmas morning. But don’t just rip everything out. There’s a method to the madness.
Careful Unboxing
Many experts we researched suggest laying the box on its side. Then carefully slide the treadmill base out. This prevents you from lifting the heaviest part unnecessarily. Take your time. You don’t want to accidentally scratch your new machine or yourself.
Remember that the packaging is there to protect your treadmill. Don’t be too aggressive. Use your utility knife to cut tape, not the box walls where parts might be resting.
Taking Stock of All Parts
Once everything is out of the box, lay it all out. Use the parts list in your manual. Count every nut, bolt, and washer. Check off each item. This step is critical. Imagine getting halfway through assembly only to realize a crucial screw is missing! It happens, and it’s a huge frustration. If anything is missing, contact the manufacturer right away.
You’ll typically find larger components like the main base, two uprights, the console, and a few covers. Then there’s a bag (or several bags) of hardware. Resist the urge to tear open all the hardware bags at once. Keep items separated if possible.
The Assembly Process: Step-by-Step Construction
Now that you’re organized, let’s start building! Always refer to your specific treadmill manual. Each model has its quirks.
Attaching the Uprights to the Base
The uprights are the two main poles that support the console. They connect to the treadmill’s base. This is often the first major connection you’ll make. You’ll usually find pre-drilled holes in the base and the bottom of the uprights.
We found that having a second person for this step is incredibly helpful. The uprights can be a bit wobbly until tightened. One person can hold an upright steady while the other inserts and tightens the bolts. Don’t tighten any bolts completely until all of them are loosely in place for that section. This allows for small adjustments. Once all bolts are aligned, then you can secure them firmly.
You’ll often see wires coming out of the uprights. Be careful not to pinch them during assembly. Guide them through any designated channels.
Mounting the Console and Securing Wiring
The console is the brain of your treadmill! It holds the screen, buttons, and heart rate sensors. It attaches to the top of the uprights. This step often involves connecting several wires.
Look for color-coded or labeled connectors. They usually click together easily. Make sure they are snugly connected. Loose connections are a common cause of console issues later on. After connections are made, you’ll secure the console to the uprights with screws or bolts.
Once the console is mounted, take a moment to manage any excess wiring. Many treadmills have clips or channels to keep wires tidy. This prevents them from being snagged or damaged. A neat wiring job also looks much better.
Final Touches and Safety Checks
You’re almost there! The end is in sight. These final steps ensure your treadmill is safe and ready for its first run.
| Component | Action | Why It Matters |
|---|---|---|
| Safety Key | Locate and attach. | Essential for starting and stopping. |
| Covers/Caps | Install over bolts/joints. | Protects from dust; aesthetic finish. |
| Power Cord | Plug into machine securely. | Ensures proper electrical connection. |
| All Bolts | Double-check tightness. | Prevents wobbling and ensures stability. |
Installing the Safety Key
Every treadmill has a safety key. It’s a small magnetic piece that attaches to the console. The other end clips to your clothing. If you lose your balance, the key detaches, and the treadmill stops immediately. This is a critical safety feature. Familiarize yourself with its location and how it works.
Double-Checking All Connections
Walk around your treadmill one last time. Are all bolts tightened? Are there any loose wires? Is everything stable? Give the uprights a gentle shake. It shouldn’t feel rickety. This final check can prevent problems down the road. We found that many users skip this step, but it’s so important for long-term stability and safety.
First Power-Up and Calibration
The moment of truth! Plug your treadmill into a grounded outlet. Your manual will often specify a dedicated circuit. Now, turn it on!
Initial Test Run
Does the display light up? Does it beep? Do the buttons work? Most treadmills will prompt you for an initial setup or calibration. Follow these instructions carefully. It might involve letting the belt run at a slow speed for a few minutes. Always stand to the side of the belt during this first test, not on it. This way, if something goes wrong, you’re safe.
Listen for any unusual noises. A brand new treadmill might have a slight new-machine smell. But loud grinding or squealing sounds are not normal. If you hear anything concerning, turn it off and consult your manual. Or search online for common issues with your specific model.
Calibrating the Incline and Speed
Your manual might guide you through calibrating the incline and speed. This ensures the numbers on the screen match the actual belt speed and incline degree. It’s usually a quick, automatic process. It helps you get accurate workout data right from the start (CDC).
Quick Pre-Run Checklist:
- Is the treadmill on a stable, level surface?
- Is the safety key properly attached?
- Are all bolts and screws securely tightened?
- Did you read the first-use instructions in the manual?
- Is there clear space around the treadmill for safety?
- Are emergency stop features working correctly?
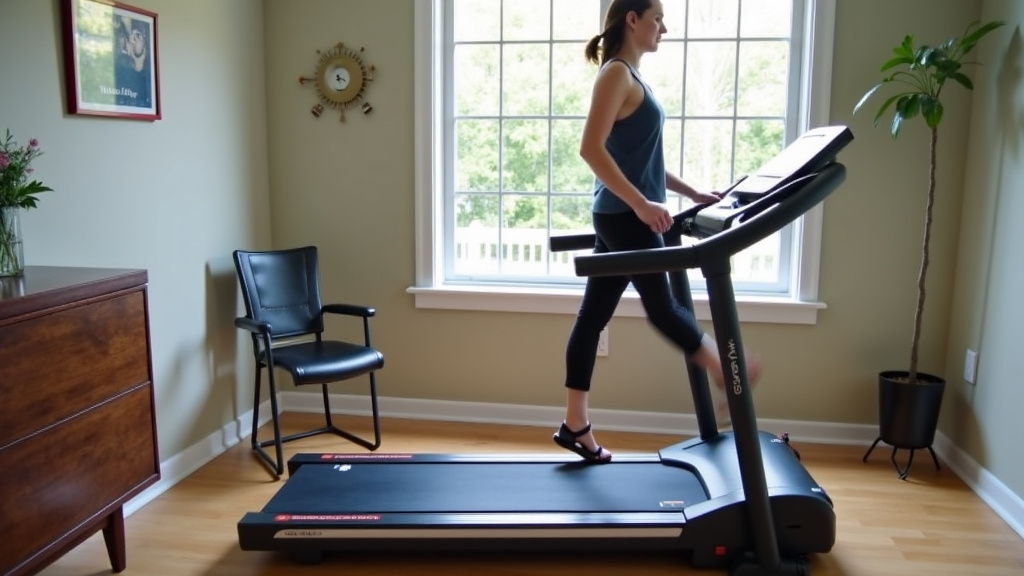
Congratulations, you’ve assembled your treadmill! You’re ready to start your fitness journey.
Conclusion
You’ve successfully turned a box of parts into a ready-to-run treadmill. By patiently following your manual and our tips, you proved that assembly is a manageable DIY task. Remember that careful preparation and double-checking connections are key for safety and longevity. Now, you’re not just assembling a machine; you’re building a path to a healthier you. Get ready to hit your fitness goals right from the comfort of your home!
Frequently Asked Questions
Can I assemble a treadmill by myself?
Yes, most home treadmills are designed for one person to assemble. However, having a second person can be very helpful for attaching the uprights or moving heavier components.
How long does it typically take to assemble a treadmill?
Based on our research, most treadmill assemblies take between 1 to 2 hours. This can vary depending on the model’s complexity and your experience level.
What basic tools do I need for treadmill assembly?
Your treadmill usually comes with specialized tools like an Allen wrench. We found it helpful to also have a Phillips head screwdriver, an adjustable wrench, and a utility knife on hand.
What should I do if parts are missing from the box?
If you discover missing parts during your inventory check, stop assembly immediately. Contact the treadmill manufacturer’s customer service with your model number and the specific missing items.
Is it normal for a new treadmill to make strange noises?
Some minor new-machine sounds or a slight smell can be normal during the first few uses. However, loud grinding, squealing, or persistent knocking noises are not normal. If you hear these, consult your manual or contact support.
