How to Protect Floors from a Treadmill?
On this page (8 sections)
To protect your floors from a treadmill, the best approach is to use a treadmill mat placed directly underneath the machine to absorb impact and prevent scratches. You can also use furniture pads or rubber caster cups for extra protection. These simple steps can save your flooring from potential damage.
Your treadmill is a fantastic way to stay fit at home, but its weight and vibrations can be tough on your floors. We’ve all worried about those dreaded scuffs or dents, especially on beautiful hardwood or delicate carpet. We found that proper floor protection is key to maintaining your home’s integrity and enjoying your workouts stress-free. It’s much easier (and cheaper) to prevent damage than to fix it.
TL;DR:
- Use a treadmill mat specifically designed for exercise equipment.
- Consider rubber furniture pads under the treadmill’s feet.
- Clean the floor regularly to prevent grit from causing scratches.
- Check your treadmill’s feet for rough edges.
Let’s walk through exactly how to protect floors from a treadmill, ensuring your workout space stays in tip-top shape.
Safeguarding Your Floors from Treadmill Damage
You’ve made a great choice by investing in a treadmill. Now, let’s talk about keeping your home’s floors safe from its effects. It’s not just about scratches; the weight and vibrations can cause deeper, long-term problems for various floor types. We’ve found that a little foresight goes a long way here.
Understanding the Threat: Why Treadmills Harm Floors
What exactly makes a treadmill a potential floor menace? It boils down to two main factors: weight and movement. A typical treadmill can weigh anywhere from 150 to over 400 pounds. That’s a lot of concentrated pressure on a small area. When you add a person’s weight on top, the pressure increases significantly. Then there’s the motion – your feet hitting the belt, the motor running, and the frame subtly shifting. These constant vibrations and slight movements can grind away at surfaces or loosen floorboards over time.
Impact on Different Floor Types
Different floors react differently to a treadmill’s presence. Knowing your floor type helps you choose the best protection strategy.
- Hardwood Floors: These are particularly vulnerable. Scratches are a big concern, but so are dents from concentrated weight. The vibrations can also loosen floorboards or make them squeak.
- Carpet: While scratches aren’t an issue, the heavy weight can create deep, permanent indentations. These flattened areas are tough to restore. Plus, friction can cause wear spots over time.
- Laminate Floors: Similar to hardwood, laminate can scratch easily. It’s also susceptible to warping if moisture gets trapped underneath, which could happen if a cheap mat doesn’t breathe.
- Tile Floors: Tiles are durable, but the grout lines can chip or crack under heavy, shifting weight. The treadmill’s feet might also scratch the tile surface, especially if there’s any grit underneath.
- Concrete Floors: These are the most resilient, but even concrete can suffer surface abrasions over time if the treadmill is dragged. Dust and debris can also make it difficult to clean around the machine.
Your First Line of Defense: The Treadmill Mat
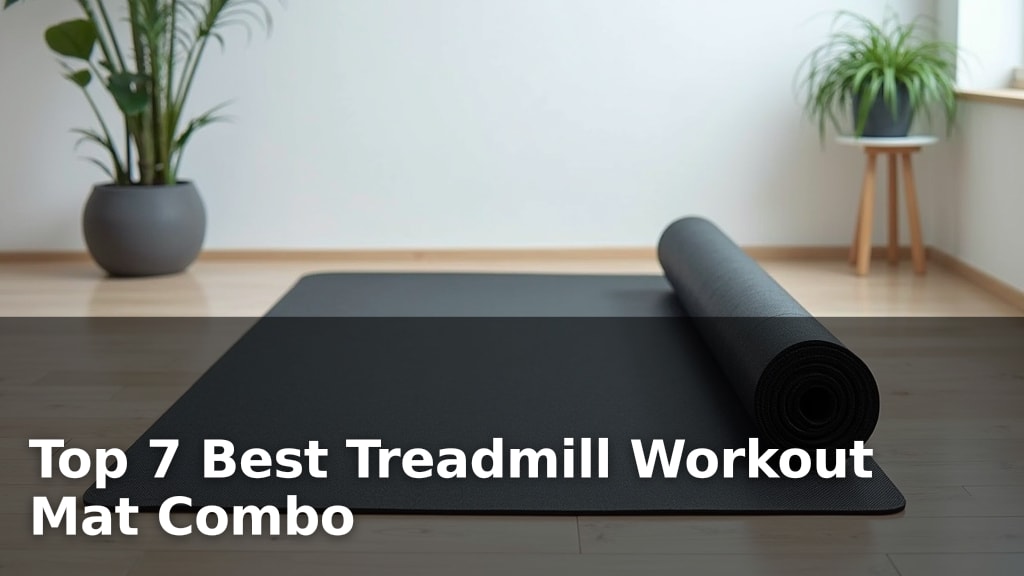
Without a doubt, the single most effective way to protect your floor is by using a treadmill mat. Think of it as a dedicated shield between your expensive fitness equipment and your home’s foundation. We found that this is not an optional accessory; it’s a necessity for any treadmill owner.
Choosing the Right Treadmill Mat
Not all mats are created equal. You want one that’s specifically designed for exercise equipment. Here’s what to look for:
- Material: Most good quality mats are made from high-density PVC, rubber, or EVA foam. Rubber and high-density PVC offer the best durability and vibration absorption.
- Thickness: A thicker mat (we recommend at least 1/4 inch, or 6mm) provides better cushioning and impact absorption. Don’t go too thin, or it won’t do its job well.
- Size: Measure your treadmill’s footprint, including any areas where you step on or off. The mat should be slightly larger than the machine’s base to catch any sweat or debris.
- Non-Slip Surface: This is crucial. The mat needs to grip both the floor and the treadmill’s feet to prevent unwanted movement during your workout.
- Moisture Resistance: You’re going to sweat. A good mat will be easy to wipe clean and won’t absorb moisture, which could damage your floor underneath.
Benefits of a Quality Treadmill Mat
Beyond just protecting your floors, a good mat offers several other advantages:
- Vibration Dampening: It absorbs some of the treadmill’s operational vibrations, making your workout quieter and reducing noise transfer to other rooms or downstairs neighbors.
- Sweat and Spill Protection: It catches sweat, water bottle spills, and dust, keeping your actual floor cleaner and preventing moisture damage.
- Stability: A non-slip mat helps keep your treadmill securely in place, preventing it from “walking” across the floor during intense runs.
- Extends Treadmill Life: By absorbing impact, it can slightly reduce the stress on your treadmill’s internal components, potentially extending its lifespan.
Additional Layers of Floor Protection
While a treadmill mat is essential, you can add extra layers of protection, especially if you have very delicate flooring or an exceptionally heavy treadmill. Think of it as having belt and suspenders for your floor’s safety.
Using Furniture Pads or Caster Cups
For extra peace of mind, especially on hardwood or laminate, consider placing rubber furniture pads or hard plastic caster cups under the treadmill’s feet, on top of the mat. Why? This further distributes the weight and provides an additional barrier. We found this method particularly useful for older treadmills with harder plastic feet that might dig into a mat over time.
- Felt Pads: While good for light furniture, felt pads can compress and lose effectiveness under heavy, vibrating loads. We recommend rubber or dense foam.
- Rubber Pads: These are excellent for grip and shock absorption. Look for dense, non-marking rubber.
- Caster Cups: If your treadmill has small, wheel-like feet or very thin feet, caster cups can provide a wider, more stable base. Ensure they are made of a durable, non-marking material.
The Importance of Regular Cleaning
This is often overlooked, but it’s critically important. Tiny pieces of grit, dust, or even pet hair can become trapped under your treadmill’s feet or the mat. When the treadmill vibrates or shifts, these tiny particles act like sandpaper, slowly scratching your floor. We’ve seen perfectly good floors damaged this way.
- Under the Mat: At least once a month, carefully slide out the mat and vacuum or wipe down the floor underneath. This removes any trapped debris.
- Around the Treadmill Feet: Regularly check and clean around the treadmill’s feet, ensuring no dirt builds up there.
- On the Treadmill Itself: Wipe down the treadmill’s frame and feet. Dust from the machine itself can sometimes contribute to floor abrasion.
Pre-Installation Floor Inspection Checklist
Before you even unbox that new treadmill, take a moment to prepare your space. This simple checklist can save you a lot of hassle later on. Many common issues can be avoided with a bit of foresight.
| Checklist Item | Why It Matters |
|---|---|
| Inspect the Floor Surface | Look for existing damage, loose boards, or uneven spots that could worsen under weight. |
| Clean the Area Thoroughly | Remove all dust and grit. Any debris can cause scratches, even with a mat. |
| Verify Subfloor Stability | Ensure the floor feels sturdy. If there’s bounce, you might need extra support or a different location. |
| Measure for Mat Sizing | Get the right mat size the first time. Too small leaves parts of the floor exposed. |
| Check for Nearby Obstacles | Ensure adequate space around the treadmill for safety and cleaning. |
Considering the Treadmill’s Feet and Location
It’s not just about what you put under the treadmill; it’s also about the treadmill itself and where you place it. These often-overlooked details can significantly impact your floor’s longevity.
Inspecting Your Treadmill’s Feet
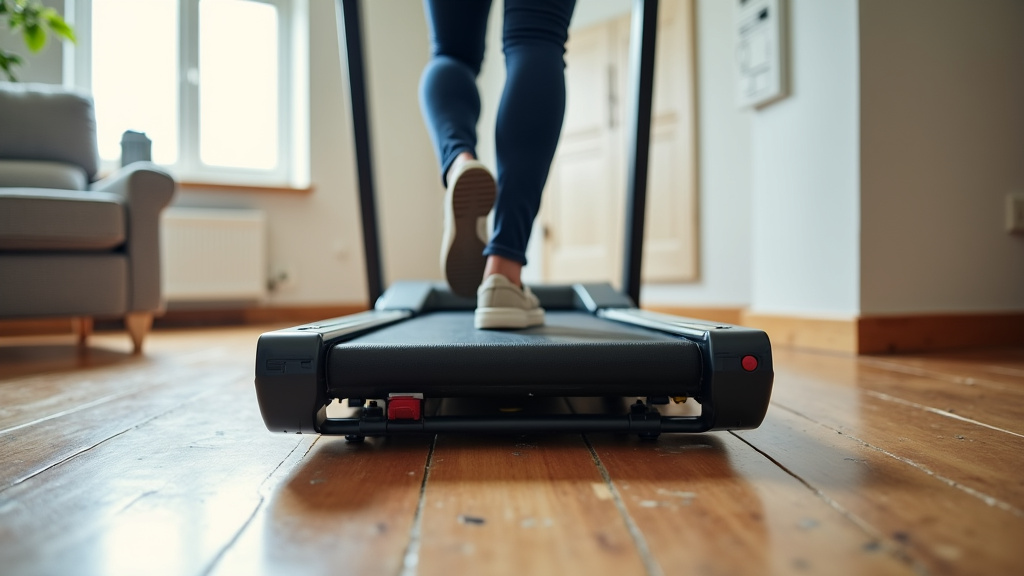
Before you place your treadmill, take a good look at its feet. Are they smooth rubber, or are they hard plastic? Do they have any rough edges or burrs from manufacturing? Sometimes, a poorly finished foot can be a major culprit for scratches. If you find any rough spots, you can gently file them down or cover them with a durable, non-abrasive material.
Strategic Placement for Maximum Protection
Where you put your treadmill matters a lot. We found that choosing the right spot can reduce potential problems. Consider these points:
- Even Surface: Always place your treadmill on a flat, level surface. An uneven floor can cause stress on the treadmill’s frame and increase movement, leading to more floor wear.
- Structural Support: If possible, position your treadmill over a joist or a structurally sound part of your floor. This is especially important on upper levels to help distribute the weight more effectively. (Cleveland Clinic suggests considering the structural integrity of your home for heavy equipment).
- Away from Walls/Furniture: Give your treadmill some breathing room. This allows for easier cleaning around the machine and prevents accidental scuffs against walls or furniture if the treadmill shifts slightly.
- Consider Your Subfloor: If you have a basement with a concrete floor, that might be the ideal location. Concrete can handle the weight and vibrations much better than a wooden subfloor upstairs.
A Quick Floor Protection Checklist
Want a fast way to remember all these tips? Here’s a quick rundown of the essential steps you should take to keep your floors pristine:
- Get a dedicated high-density treadmill mat that’s larger than your machine.
- Place rubber furniture pads or caster cups under the treadmill’s feet for extra cushioning.
- Clean the floor and mat regularly to prevent grit and dust from scratching surfaces.
- Inspect the treadmill’s feet for any rough edges and smooth them out if needed.
- Choose a level and structurally sound location for your treadmill.
Conclusion
Protecting your floors from a treadmill is simpler than you might think, and it truly pays off. By taking just a few preventative steps, you can save yourself from costly repairs and keep your home looking great. We’ve found that investing in a quality treadmill mat and practicing regular cleaning are your strongest defenses. Don’t let the fear of floor damage stop you from enjoying your home workouts.
Take action today: measure your treadmill, choose the right mat, and enjoy your fitness journey worry-free!
Frequently Asked Questions
What kind of floor is best for a treadmill?
Generally, a concrete floor is the most resilient and least likely to suffer damage from a treadmill’s weight and vibrations. If concrete isn’t an option, a sturdy, level subfloor with proper protection like a high-density mat works well for other floor types.
Can a treadmill damage the structural integrity of my house?
While unlikely for most standard treadmills in typical homes, very heavy equipment combined with an already weak or old floor structure could potentially cause issues over a long period. Placing it over a joist or on the ground floor helps distribute weight better. Always use a proper mat to minimize vibration transfer.
How often should I clean under my treadmill mat?
We recommend cleaning under your treadmill mat at least once a month. This prevents dust, grit, and debris from accumulating. These tiny particles can act as abrasives, scratching your floor over time if the treadmill shifts or vibrates.
Will a treadmill mat stop all noise and vibration?
A good quality, thick treadmill mat will significantly dampen noise and absorb vibrations, making your workout quieter and reducing transfer to other rooms. However, it won’t eliminate them completely. It’s a key part of minimizing, but not eradicating, these effects.
Can I use cardboard or plywood instead of a treadmill mat?
While cardboard or plywood might offer some initial protection, we don’t recommend them as long-term solutions. They don’t absorb vibrations effectively, can degrade quickly, and won’t protect against sweat or spills. A dedicated rubber or PVC mat offers much better and more reliable protection.