How to Replace a Treadmill Belt?
On this page (7 sections)
Replacing a treadmill belt yourself is definitely doable and can save you a good chunk of cash. You’ll need a few basic tools and a bit of patience. Most DIYers can complete this job in an afternoon, making it a cost-effective way to keep your treadmill running smoothly. It’s about getting your cardio machine back in action without calling a pricey repair person.
A worn-out treadmill belt can cause a lot of problems. It might slip, feel jerky, or even make strange noises. Ignoring these signs can lead to bigger issues. Keeping your belt in good shape means a safer workout for you and a longer life for your equipment. We found that regular checks can spot wear early.
- Tools needed: Screwdrivers, wrenches, maybe a utility knife.
- Locate and remove the treadmill motor cover.
- Loosen the bolts on the roller.
- Slide off the old belt.
- Position the new belt evenly.
- Adjust tension and reassemble.
Ready to get your treadmill back in tip-top shape? Let’s walk through exactly how to replace that belt step by step.
“`htmlGiving Your Treadmill a New Lease on Life: A Belt Replacement Guide
Your treadmill belt is the unsung hero of your home gym. It’s the part that directly interacts with your feet during every stride. When it starts showing wear, it’s more than just annoying; it’s a sign that your machine needs some TLC. Replacing a worn treadmill belt might seem daunting, but with the right guidance, you can do it yourself. We found that many treadmill owners successfully tackle this project with basic tools and a bit of patience, saving them money and downtime.
Why You Need to Replace Your Treadmill Belt
So, what exactly signals a belt that’s past its prime? A worn belt can lead to several performance issues. It might feel like it’s slipping under your feet, causing an unpredictable stride. You might notice a jerky motion, which is not only uncomfortable but can also increase your risk of a fall. Sometimes, a failing belt will start making unusual squeaking or grinding noises. These are all red flags. Many fitness experts recommend addressing these symptoms promptly. Ignoring them can strain your treadmill’s motor and other components, potentially leading to more expensive repairs down the line (Cleveland Clinic). If you notice slipping, our guide on how to fix a treadmill belt that slips can help.
Beyond performance, a worn belt impacts your safety. A belt that bunches up or slips can cause you to stumble. Think of it like driving with worn-out tires – it’s a risky situation. Keeping your belt in good condition ensures a smoother, safer workout every time you step on. We found that regular visual checks can often spot fraying or cracking early, giving you time to plan for a replacement before a major issue occurs.
Gathering Your Tools and Supplies
Before you begin, make sure you have everything ready. This will save you trips to the hardware store mid-project. You’ll want a good set of screwdrivers, particularly Phillips head and possibly flathead, depending on your treadmill model. A socket wrench set or adjustable wrenches are also essential for loosening bolts. Sometimes, a hex key set (Allen wrenches) is needed.
You’ll also need a utility knife or a strong pair of scissors to cut away the old belt if it’s too brittle to slide off easily. A tape measure might be handy to double-check belt dimensions, though usually, you’ll order a replacement belt specific to your treadmill model. Some people find a shop vacuum helpful for cleaning up dust and debris. And, of course, you’ll need your new treadmill belt!
Choosing the Right Replacement Belt
This is critical. You can’t just grab any belt; it needs to be the exact fit for your treadmill. Check your owner’s manual for the correct part number or specifications. If you don’t have the manual, look for a model number on your treadmill frame. You can then search online for parts specific to your machine’s brand and model. Many manufacturers and third-party retailers offer compatibility charts. We found that ordering directly from the treadmill manufacturer ensures the best fit, though it might be pricier.
Consider the belt’s material and construction. Most modern treadmill belts are multi-ply, designed for durability and smooth operation. They often have a specific surface texture for grip. Using the wrong size or type of belt could damage your treadmill or lead to safety hazards. It’s worth taking the time to find the correct, compatible belt.
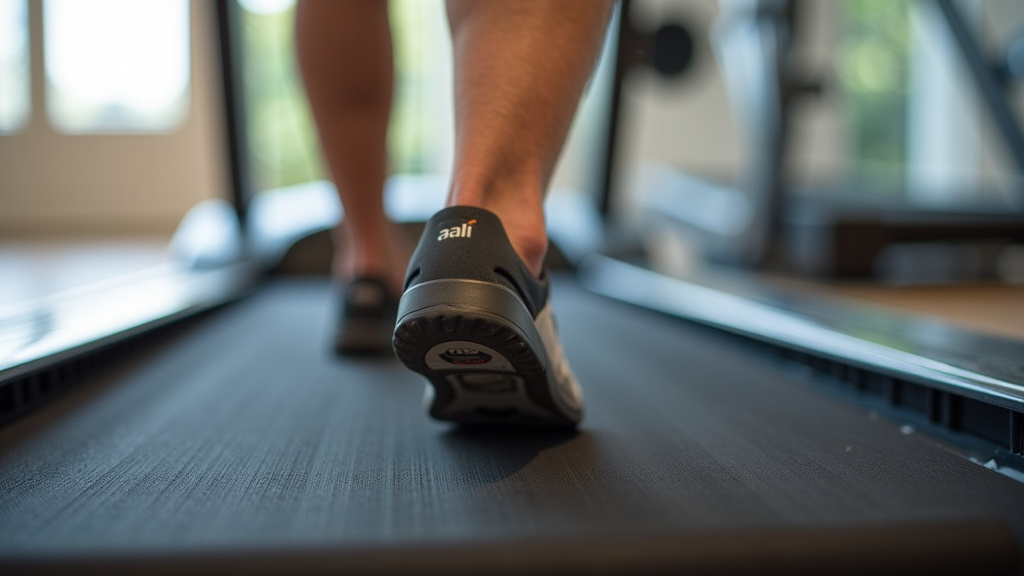
Step-by-Step: Replacing Your Treadmill Belt
Let’s break down the process. Remember to work safely. It’s a good idea to unplug your treadmill from the wall outlet before starting any work. This prevents accidental power surges or starts.
1. Accessing the Motor and Rollers
Most treadmills have a plastic cover protecting the motor and the front roller. You’ll need to remove this cover. Look for screws along the edges or sometimes under small plastic caps. Gently pry off any clips if present. Keep the screws organized; you don’t want to mix up different lengths.
Once the cover is off, you’ll see the motor and the large roller at the front. The treadmill belt actually runs around this front roller and a similar roller at the back. You’ll be working with the front roller primarily to adjust the belt tension.
2. Loosening the Belt Tension
The treadmill belt is held in place by tension from the rear roller. To remove the old belt, you need to loosen this tension. Locate the adjustment bolts, usually found at the very back of the treadmill frame, near the rear roller. These bolts are often attached to the bearings of the rear roller. You’ll need your wrench to turn these bolts.
Important Note: The direction you turn these bolts matters. Turning them one way tightens the belt, and turning them the other way loosens it. Many experts suggest turning each bolt an equal amount, perhaps a half-turn or a full turn at a time. You’re looking for the belt to become noticeably slack. We found that going slowly and making incremental adjustments is best. Don’t loosen them completely, or the roller might shift too much. If the belt feels too loose, learn how to tighten my treadmill belt with our guide.
3. Removing the Old Belt
With the belt now loose, you should be able to slide it off the front roller. If it’s really stuck or feels like it’s fused to the roller, you might need to use your utility knife to carefully cut it into strips. Be cautious not to damage the rollers themselves. You want to avoid cutting into the metal or plastic of the rollers.
Sometimes, the old belt is brittle and will crumble as you try to remove it. This is normal. Once it’s off, take a moment to inspect the rollers. Check for any damage, debris, or wear. Clean them if necessary. This is also a good time to vacuum out any dust or debris that has accumulated inside the treadmill. A clean interior means better operation.
4. Positioning the New Belt
Now for the exciting part: installing the new belt. Slide the new belt over the rear roller first. Then, carefully guide it over the front roller. You might need to gently pull the belt to get it fully onto both rollers.
Ensure the belt is centered on the rollers. It should have an equal amount of space on either side. Many belts have a seam or a specific pattern that should face outwards for proper grip. Double-check that the belt is running true and not twisted.
5. Adjusting Belt Tension and Alignment
This is where you’ll use those rear roller adjustment bolts again. You need to tighten the belt so it has the correct tension. Again, turn the bolts incrementally, ensuring you adjust both sides equally. How tight should it be? You want it snug, but not overly tight.
A good test: try to lift the edge of the belt about an inch off the deck. It should spring back firmly. If you can lift it much higher, it’s too loose. If you can barely lift it, it’s too tight. Many resources suggest a tension that prevents slipping without putting undue stress on the motor or bearings (National Strength and Conditioning Association).
As you tighten, periodically check the belt’s alignment. It should track straight down the center of the deck. You can test this by turning the belt manually. If it drifts to one side, make tiny adjustments to the rear roller bolts. Small turns can make a big difference.
6. Testing and Final Checks
Once you think the tension and alignment are correct, it’s time for a test run. Reattach the motor cover, securing all screws. Plug your treadmill back in.
Start the treadmill at its lowest speed. Watch the belt closely. Does it track straight? Does it slip? Let it run for a minute or two. Then, slowly increase the speed. As you increase speed, and if you’re able, briefly simulate walking or jogging on it. Listen for any unusual noises and observe the belt’s behavior. You might need to make further minor adjustments to the tension or alignment. We found that a few short test runs are often necessary to get it just right.
Troubleshooting Tip: If the belt consistently drifts to one side, even after adjustments, one of the rollers might be slightly misaligned. This is rarer but can happen. Consult your treadmill manual or a professional if this persists. For most DIYers, careful adjustment of the rear roller bolts will solve tracking issues.
A Quick Checklist for Belt Replacement Success
- Unplug the treadmill before you start. Safety first!
- Gather all necessary tools: screwdrivers, wrenches, knife.
- Order the exact replacement belt for your model.
- Loosen the rear roller bolts to slacken the old belt.
- Carefully slide or cut off the old belt. Clean rollers.
- Center the new belt, then tighten rear roller bolts incrementally.
- Test for proper tension, alignment, and smooth operation.
Conclusion
You’ve successfully navigated the process of replacing your treadmill belt! It’s a rewarding DIY project that keeps your cardio machine running smoothly and safely. Remember, taking the time to gather the right tools and order the exact replacement belt is key to success. We found that a little patience during tension adjustment pays off big time. Now, enjoy your revitalized treadmill and get back to those workouts with confidence!
Frequently Asked Questions
How often should I replace my treadmill belt?
There’s no set schedule, as it depends on usage and treadmill quality. We suggest inspecting your belt regularly, perhaps every few months. Look for signs of wear like cracking, fraying, or peeling. If you notice slipping or unusual noises, it’s time for a replacement.
Can I use a treadmill belt from a different brand?
It’s best to stick to belts specifically designed for your treadmill model. While some universal belts exist, they might not offer the perfect fit or performance. We found that ordering the correct, compatible belt from your treadmill’s manufacturer or a reputable parts supplier ensures safety and optimal function.
My new belt seems too tight. What should I do?
Slightly loosen the rear roller adjustment bolts. Make small, equal turns on both sides. You want the belt to be snug enough not to slip but loose enough to allow easy manual rotation. We suggest testing the tension by lifting the belt about an inch off the deck; it should spring back firmly.
What if the belt keeps drifting to one side after adjustment?
This can indicate a slightly misaligned roller. Make very small, incremental adjustments to the rear roller bolts. If the problem persists, it might be worth consulting your treadmill’s manual or a professional service technician, as roller alignment can be tricky.
Is it normal for the old belt to be brittle and break apart?
Yes, absolutely. Older rubber belts can become very brittle over time. It’s normal for them to crack, crumble, or even feel “sticky” as they wear out. This brittleness is often why you might need a utility knife to cut it away safely, but be careful not to damage the rollers underneath.