How to Level an Uneven Treadmill?
On this page (8 sections)
- Getting Your Treadmill Stable: A Step-by-Step Guide
- First Things First: Assess the Wobble
- The Most Common Fix: Adjusting the Leveling Feet
- When Adjustable Feet Aren’t Enough: Using Shims
- Ensuring a Flat Surface for Your Treadmill
- Final Stability Check and Workout Readiness
- Conclusion
- Frequently Asked Questions
Yes, you can absolutely level an uneven treadmill, and it’s often easier than you think. By adjusting the machine’s feet or using simple shims, you can quickly fix wobbles and ensure a stable workout. This common treadmill issue can be addressed with basic household items.
An uneven treadmill not only feels unstable but can also affect your workout form and potentially cause discomfort. Many users experience this over time. Fortunately, the fix usually involves a few simple adjustments to the treadmill base, restoring its stability and making your runs much safer.
- Check for visible wobbling or an uneven stance.
- Adjust the treadmill’s built-in leveling feet.
- Use shims for fine-tuning or if feet aren’t adjustable.
- Ensure the treadmill is on a flat surface first.
- Test for stability after making adjustments.
Let’s walk through exactly how to get your treadmill stable and ready for your next workout, step by step.
Getting Your Treadmill Stable: A Step-by-Step Guide
You’ve got your treadmill, ready to conquer those fitness goals. But wait, it wobbles! That feeling of instability can be really unnerving. You might wonder if you’ve set it up wrong or if there’s a major problem. Don’t worry, most of the time, an uneven treadmill is a fixable issue. We’re here to guide you through making it rock-solid again.
Why is a stable treadmill so important? Well, beyond just feeling secure, it directly impacts your workout. An uneven base can throw off your running or walking gait. This might lead to discomfort or even minor injuries over time. Research from physical therapists often highlights the importance of proper biomechanics during exercise, which starts with a stable surface (American Physical Therapy Association guidelines). Research from physical therapists often highlights the importance of proper biomechanics during exercise, which starts with a stable surface.
First Things First: Assess the Wobble
Before you start tightening bolts or reaching for shims, let’s figure out just how uneven your treadmill is. Sometimes, a slight tilt is hardly noticeable. Other times, it’s a full-on dance party when you try to jog.
Where is the Unsteadiness Coming From?
Is the entire machine rocking, or just one corner? Try gently pushing down on different parts of the treadmill frame. Do you feel a distinct give in one area? You can also do a quick visual check. Look at the treadmill from the front, back, and sides. Does one of the feet seem to be higher or lower than the others?
Sometimes, the issue isn’t the treadmill itself, but the surface it’s on. Is your floor perfectly flat? Older homes or specific flooring types can sometimes have slight slopes. While we’ll address treadmill adjustments, it’s worth noting if the room’s floor might be contributing.
Is the Treadmill Moving?
A common cause of perceived unevenness is the treadmill sliding or moving during use. This is especially true on smooth surfaces like hardwood or tile. If you notice the treadmill “walking” across the floor during a workout, that’s a different problem. You might need to secure it with a mat or specialized non-slip pads.
The Most Common Fix: Adjusting the Leveling Feet
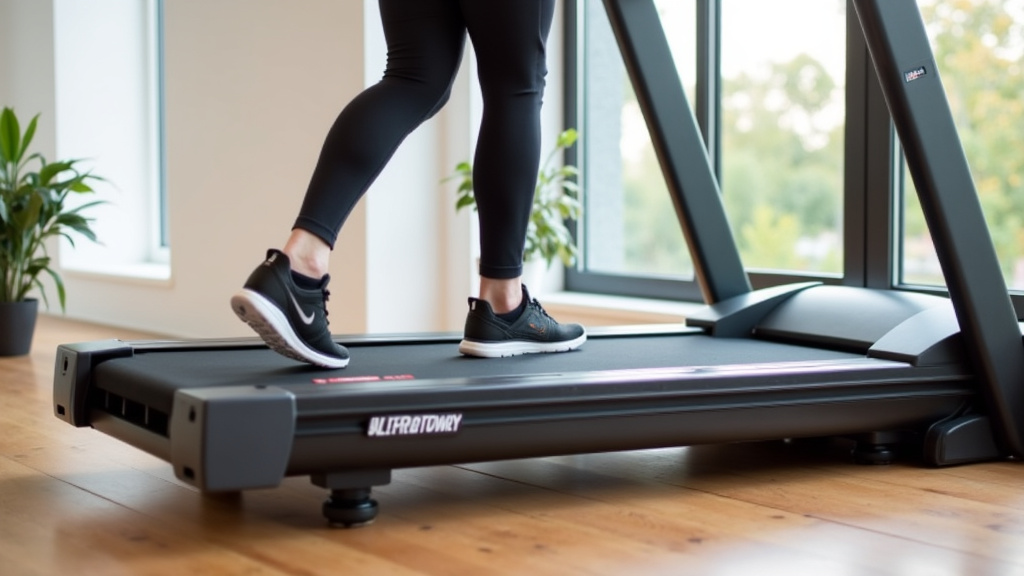
Most modern treadmills are designed with adjustable feet. These are essentially screw-like mechanisms at the base of each treadmill leg. They allow you to raise or lower specific corners of the machine to compensate for slight variations in your floor or the treadmill’s construction.
Locating the Leveling Feet
Carefully look at the bottom of your treadmill. You’ll usually find one adjustable foot at each corner. Some models might have only two in the front or back, or a combination. They often have a rubber or plastic base that meets the floor.
Tip: It’s often easier to find these if you gently tilt the treadmill. Be careful not to overdo it, especially if the treadmill is heavy. Having a second person can make this much safer and simpler.
How to Turn the Feet
Once you’ve found the feet, you’ll need to adjust them. Most feet can be turned by hand. For stubborn ones, you might need a wrench. Consult your treadmill’s manual if you’re unsure about the type of adjustment mechanism.
Action: To raise a corner, you typically turn the foot counter-clockwise. To lower a corner, turn it clockwise. Think of it like tightening a screw to bring something up, or loosening it to bring it down.
Making the Adjustments: A Little Goes a Long Way
This is where patience pays off. Make small adjustments to one foot at a time. After each small turn, check the treadmill’s stability. You can do this by gently rocking it or by stepping onto it briefly.
Important: Don’t try to force it. If a foot feels stuck, try cleaning around it. Debris can sometimes get lodged in the threads. If it’s still stuck, re-check your manual or contact the manufacturer. We found that users often over-tighten or over-loosen, making the problem worse.
The “Rock and Roll” Test
After adjusting a foot, gently push down on that corner. Does it feel more solid? Now, try rocking the treadmill in the opposite direction. Continue making small turns until the entire unit feels stable and doesn’t wobble in any direction.
Pro Tip: Sometimes, it’s helpful to adjust the feet on the same side equally. If the front left foot is too low, you might also need to adjust the front right foot slightly to ensure symmetry, even if it wasn’t the primary culprit.
When Adjustable Feet Aren’t Enough: Using Shims
What if your treadmill doesn’t have adjustable feet? Or what if the adjustment range isn’t enough to get it perfectly level? This is where shims come in handy. Shims are simply small wedges used to fill gaps and create a level surface.
What Kind of Shims Should You Use?
You don’t need anything fancy. Many people use sturdy cardboard, thin pieces of wood, or specialized rubber shims designed for furniture. The key is that the material should be dense and not compress easily under weight.
Recommendation: We found that thick, layered cardboard (like from a shipping box) works well for a temporary fix. For a more permanent solution, consider buying a set of furniture leveling shims. These are often made of durable plastic or rubber and come in various thicknesses, making fine-tuning much easier.
How to Shim Your Treadmill
Identify the corner or side of the treadmill that needs to be lifted. Gently lift that part of the treadmill just enough to slide the shim underneath. You might need a helper for this. Start with a thin shim and add more layers or a thicker shim as needed.
Remember: The goal is to create a snug fit. The shim should fill the space without being so thick that it forces the treadmill into an unnatural position. You want the treadmill to rest evenly on all its contact points with the floor.
Fine-Tuning with Shims
Just like with adjustable feet, small adjustments are best. Slide the shim in, test the wobble, and repeat if necessary. You can stack multiple thin shims to achieve the precise height you need. This is especially useful if your floor has a slight, consistent slope.
Ensuring a Flat Surface for Your Treadmill
We mentioned this earlier, but it bears repeating. A treadmill works best on a flat, stable surface. If your treadmill is on a carpet that has a significant dip in one area, or on uneven tiles, even the best adjustments might not fully solve the problem.
The Treadmill Mat Advantage
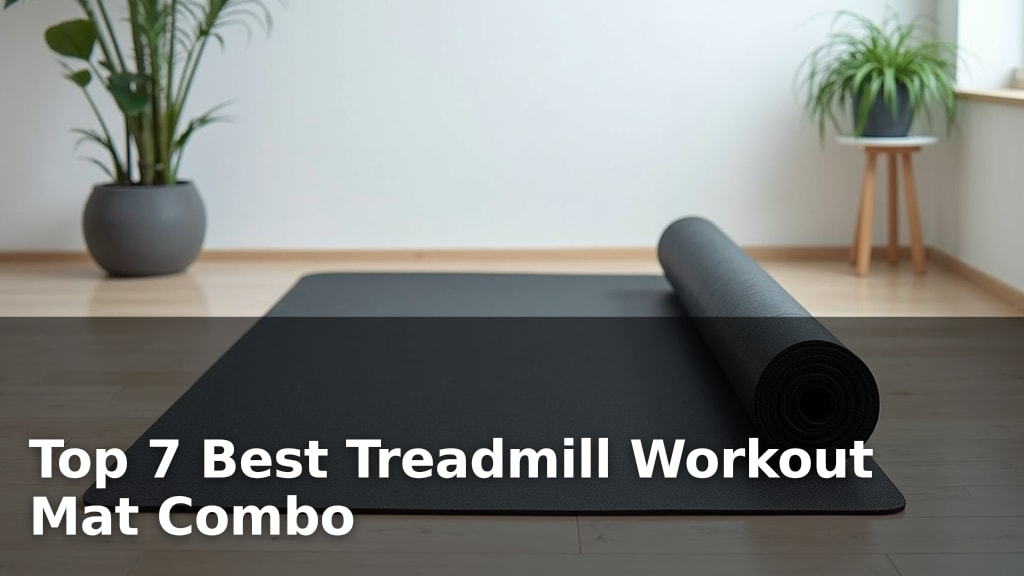
Using a treadmill mat is often a wise investment. These mats are designed to be dense and provide a stable platform. They can help protect your floors and also offer a more even base for the treadmill itself. Many mats are also designed to reduce vibration and noise, which is a nice bonus!
Checking Your Room’s Levelness
If you suspect the room itself is the issue, you can use a long spirit level. Place the level on the floor in several areas where the treadmill might go. If you see a significant bubble off-center, you might have a persistent floor issue. In such cases, shimming the treadmill very precisely might be your best bet.
Final Stability Check and Workout Readiness
You’ve made your adjustments. Now, let’s make sure everything is perfect before you start your workout.
The All-Important Wobble Test
Get on your treadmill. Start it at a very slow speed (e.g., 1 mph). Walk around. Does it feel stable? Now, gradually increase the speed to your normal jogging or running pace. Pay attention to any vibrations or rocking sensations. If it feels solid at your typical workout speed, you’ve likely succeeded!
Listen for New Sounds
Sometimes, an uneven treadmill can create new squeaks or groans as parts rub against each other or the floor. If you suddenly hear new noises after your adjustments, you might need to make a tiny tweak. It’s often just a slight over-adjustment that can be easily corrected.
Check Your Treadmill’s Manual
If you’re struggling or if your treadmill has unique leveling features, always refer to your owner’s manual. It’s a treasure trove of specific information for your particular model. Many manuals also include troubleshooting sections for stability issues.
A Quick Checklist for a Stable Treadmill:
- Confirm the treadmill is on its intended, relatively flat surface.
- Identify which corner(s) of the treadmill feel unstable.
- Gently adjust leveling feet (turn to raise or lower) until stable.
- If feet aren’t adjustable or sufficient, use sturdy shims.
- Make small, incremental adjustments and test stability frequently.
- Perform a slow walk and then a faster jog test to confirm.
Conclusion
You’ve successfully tackled that wobbly treadmill! By understanding your machine and using simple adjustments like the leveling feet or a few well-placed shims, you’ve created a stable and safe workout environment. Remember, a little patience goes a long way. Your treadmill is now ready to support your fitness journey without any distracting wobbles. Your next step? Lace up your shoes and enjoy a more secure and effective workout!
Frequently Asked Questions
Can I just put anything under the treadmill feet to level it?
While you can use household items like cardboard for a temporary fix, we found that denser materials work best. Sturdy cardboard, wood scraps, or dedicated furniture shims are ideal. They won’t compress over time, ensuring your treadmill stays stable.
How do I know if my treadmill’s floor is the problem, not the machine?
If your treadmill rocks even after adjusting all its feet, or if you notice the floor itself has noticeable dips or slopes, the room might be the issue. Using a long spirit level on your floor in several spots can help you determine if the floor is uneven.
My treadmill feet are really hard to turn. What should I do?
Try cleaning around the adjustable feet first, as debris can sometimes lodge in the threads. If they’re still stiff, a wrench might be needed. Always consult your treadmill’s manual for specific instructions, as some feet may have a different adjustment mechanism.
How often should I check my treadmill’s stability?
It’s a good idea to perform a quick wobble test every few months, or anytime you notice a new squeak or instability. Regular checks, especially after moving the treadmill, help ensure it remains safe for your workouts.
What if my treadmill is sliding across the floor, not just wobbling?
If your treadmill “walks” during use, especially on smooth floors, this is a stability issue related to friction. A treadmill mat is often the best solution here. These mats provide grip and prevent the machine from sliding, which can also indirectly help with perceived unevenness.